![logo - 512.png]](https://help.timeero.com/hs-fs/hubfs/logo%20-%20512.png?width=75&height=75&name=logo%20-%20512.png)
![]()
![]()
Learn How to:
- Connect your Timeero and Rippling accounts.
- Export time and mileage from Timeero to Rippling.
Note: This integration requires the Rippling Identity & Access Management package (billed monthly, $8-10 per user/month). Timeero charges no additional fee- the cost is determined by Rippling.
How do I Set up My Existing Rippling Account Through Timeero?
1. Go to the Integrations tab, select Rippling > Configuration > Enable
2. You'll be prompted to sign in with your Rippling email and password
3. When you have completed the setup, you will be routed back to Timeero to set up the Mapping. You will need to match your Rippling Employees to Timeero Employees by selecting them from the drop-down list and then Mapping Employee under the Action Tab on the right-hand side.
Before exporting to Rippling, if you're reimbursing for miles, be sure to create and map mileage-earning codes
How Do I Export to Rippling?
When you have completed the 3 steps above, you will be able to run your payroll report and send hours worked and/or mileage costs over to Rippling.
-
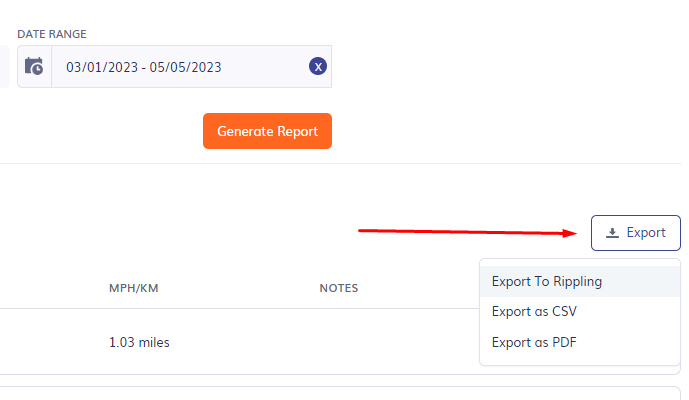
In Timereo, select Reports and choose Report by User/Group or Report by Date Range. Select the date range you want to run payroll for, and then click on the Generate Report button.
-
Once you have generated the report, select Export to Rippling.
3. Select your payroll period, and you'll be notified that your timesheet has been sent to Rippling.
To view your payroll in Rippling, you can access it by clicking on the Payroll app
See Below:

FAQs
Which report can I use to export to Rippling?
In order to export to Rippling, you will need to use the Report by User or Group, the Report by Job, or the Report by Date Range.